Description
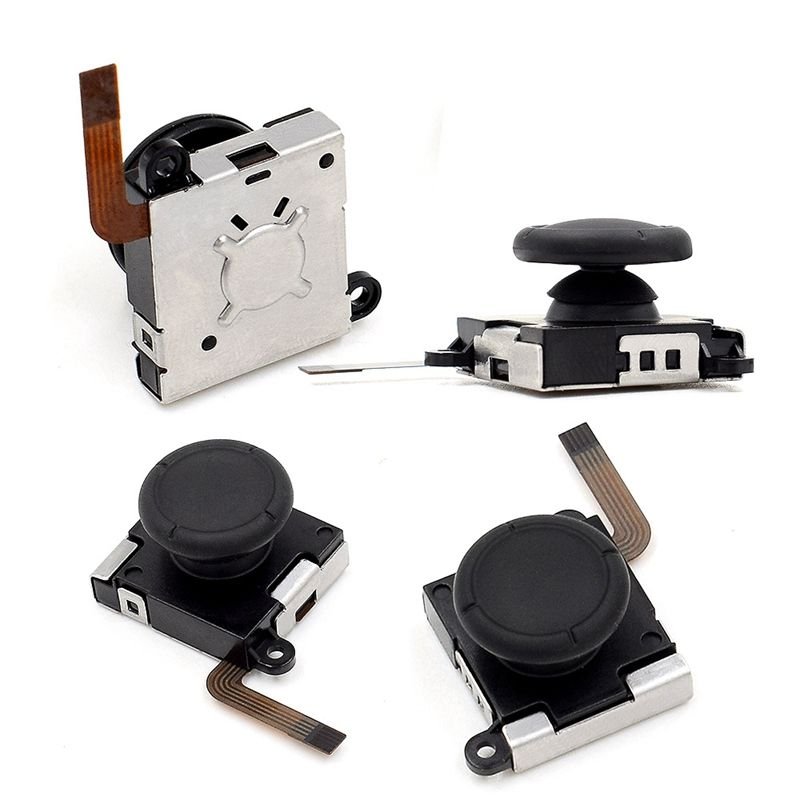
Nintendo Switch Controller Replacement Joystick Parts: At RepairZone, find replacement joystick parts for your Switch controller. Easily fix drift and other joystick issues with quality replacement parts.
The Joystick Repair Kit makes it easy to fix common issues such as Joy-Con drift, breakage, etc! Joystick repair kit for: Nintendo series original Joy-Con. This is a replacement joystick set specially designed for the Nintendo Switch left / right Joy-Con.
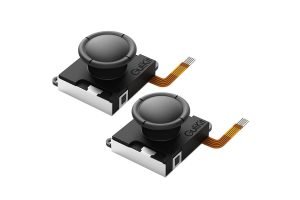
Issues that our Replacement Joysticks can handle:
Joysticks drift & Joysticks worn out.
Replacing the joystick (analog stick) on a Nintendo Switch controller can be done with some technical skill and the right tools. Here are the general steps for replacing the joystick on a Nintendo Switch controller:
Tools and Materials You Will Need:
- Replacement joystick module (compatible with your controller model).
- Screwdriver (usually a tri-wing screwdriver is needed for Nintendo devices).
- Small Phillips-head screwdriver.
- Tweezers.
- Plastic spudger or opening tools.
- A clean workspace.
Important Notes:
- Make sure to disconnect the controller from the Nintendo Switch and power it off before starting.
Steps to Replace the Joystick:
- Remove the Screws:
- Use the tri-wing screwdriver to remove the screws that hold the controller together. There are typically four or more screws on the back of the controller.
- Keep the screws organised as they may vary in size.
- Open the Controller:
- Carefully use a plastic spudger or opening tool to pry open the controller’s housing. Start at the seam and gently work your way around to avoid damaging the plastic clips.
- Disconnect the Battery (If Present):
- Some controllers may have a battery. If so, locate the battery cable and disconnect it to ensure safety during the repair.
- Locate and Disconnect the Old Joystick:
- The joystick module will be connected to the controller’s PCB (printed circuit board). Carefully disconnect the ribbon cable or connector that attaches the joystick to the PCB. Tweezers may be helpful for this step.
- Remove the Old Joystick:
- The joystick is usually secured to the controller with clips or adhesive. Gently release these clips or peel off the adhesive to remove the old joystick.
- Install the New Joystick:
- Position the replacement joystick module in place, aligning it with the mounting points.
- Secure it using any clips or adhesive as needed.
- Reconnect the New Joystick:
- Carefully reattach the ribbon cable or connector to the PCB.
- Reassemble the Controller:
- Carefully place the controller’s housing back together, ensuring all clips snap into place.
- Secure the Screws:
- Reinsert and tighten the screws with the tri-wing screwdriver.
- Test the Controller:
- Reconnect the controller to the Nintendo Switch and turn it on.
- Test the joystick to make sure it functions correctly in all directions.
- Final Check:
- Ensure that all buttons, including the replaced joystick, are working correctly.
- If everything is functioning as expected, your repair is complete.
Please note that this process may vary slightly depending on the specific controller model and the joystick module you’re using. Additionally, if you are not comfortable with electronics repair or don’t have the necessary tools and experience, it’s advisable to seek professional help or consider sending the controller to Nintendo for repair.

